Taking a shower is one of the most popular ways to start off the morning and end the evening, so a leaking shower head can be very annoying. It’s not only inconvenient, but it also means you’re wasting water and potentially increasing your water bill. Fortunately, repairing a leaking shower head doesn’t have to be difficult or expensive. In this article, we’ll explain how to fix a leaking showerhead in five simple steps.
Problem Diagnosis
Problem Diagnosis is a critical step in any home improvement project, especially when it comes to fixing a leaking shower head. This will help identify the source of the problem and make sure that you are able to fix the issue without causing further damage. The key is to understand the basic principles of plumbing before attempting any repairs.
First and foremost, it is important to understand where water enters your home and how it flows through your pipes. If your shower head is showing signs of water leakage, then you must know where exactly the leak occurred in order to properly diagnose and repair it. Inspecting the area around your faucets can also help in pinpointing potential problems such as clogged aerators or worn-out gaskets. In addition, checking for loose fittings or corroded pipes can identify other potential sources of leakage.
Prepare to Repair
When the shower head in your bathroom starts to leak, it may feel like a daunting task to fix the issue. However, with the right knowledge and preparation, you can take on this repair project yourself and save time and money. Learning how to fix a leaking shower head is an essential skill for any homeowner looking to become more self-sufficient in home maintenance. By following these simple steps, you will be ready to tackle this task and stop that annoying drip!
First, it is important to identify the cause of your leaky shower head. Most commonly it is due to worn-out washers or O-rings inside the fixture. Once you have ascertained what part needs replacing, make sure you have all the necessary tools for disassembly – such as screwdrivers, wrenches, and pliers – as well as replacement parts before beginning work.
Disassemble the Shower Head
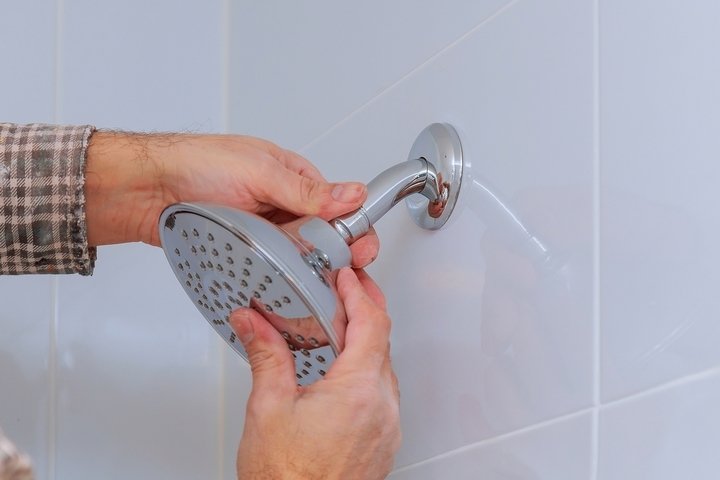
Disassembling a showerhead is a relatively easy process and can help you to fix any leaking problems that you may be having. If your shower head has been leaking, it’s important to take the time to break down the pieces of the assembly in order to find out where the problem lies. Disassembling your shower head also allows for better access when cleaning or replacing parts like filters and O-rings.
The most important thing to remember when disassembling a shower head is that you must be gentle with it in order not to cause any further damage. Start by disconnecting the water supply, followed by unscrewing the nut that holds the arm and body together, then removing all of the components from within. You may need pliers or an adjustable wrench for this part.
Clean and Replace Parts
A leaking shower head can be an annoying problem and a huge waste of water. Fortunately, it is easy to fix yourself with minimal tools or experience. The best way to start fixing a leaky shower head is to clean and replace the parts. This simple step can help save time and money by avoiding expensive plumber costs.
First, carefully remove the showerhead from the wall and inspect for any loose fittings or corroded parts that could be causing the leak. Make sure to unscrew the showerhead slowly so as not to cause any damage during removal. Once removed, clean off any built-up deposits from around the threads of both pieces using a cloth rag or brush dipped in a vinegar solution. Then use pipe thread sealant on both pieces before reattaching them back together – making sure they are secured tightly enough so that no more leaks occur when in use.
Reassemble and Test
Leaks in your shower head can be an annoying issue, but they don’t have to put a damper on your day. With a few simple tools and some patience, you can fix that leaking shower head easily. The first step is to reassemble and test the showerhead components.
To begin, disassemble the showerhead by unscrewing it from the pipe. If there are any washers or other rubber parts inside, inspect them for wear and replace them if necessary. Make sure all old pieces are removed from the pipe before reassembling them with new components. When all of the pieces are in place, securely tighten connections with a wrench or pliers and turn on the water to test for leaks. If no leaks occur after running water for several minutes then you’re done!
Conclusion
The conclusion of our article on how to fix a leaking showerhead is that fixing it yourself isn’t an impossible task. With the right tools and a little bit of know-how, you can have your shower head back in working condition in no time. Firstly, it’s important to locate what type of shower head you have so that you can acquire the correct parts needed for replacing any washers or seals. Secondly, turn off the water supply before starting work on the fixture and use Teflon tape to make sure there are no further leaks when reattaching the pipes. Finally, consider changing out any worn-out fixtures with new ones or contact a professional if needed. In short, fixing a leaking shower head doesn’t need to be challenging – just be sure to approach it with confidence and caution!


